Thursday, January 25, 2018

Believe in Yourself...... Always!


Happy Thursday!  I'm here again with the fabulous new Tool Shed Kit: Winter Adventures!  This time in the Fairy Garden, I decided to take it off the page and make a fabulous box for one of the special guys in my life.

Everything I used, except the paper mache box, which is a 3 3/4 inch square box, is from the kit.
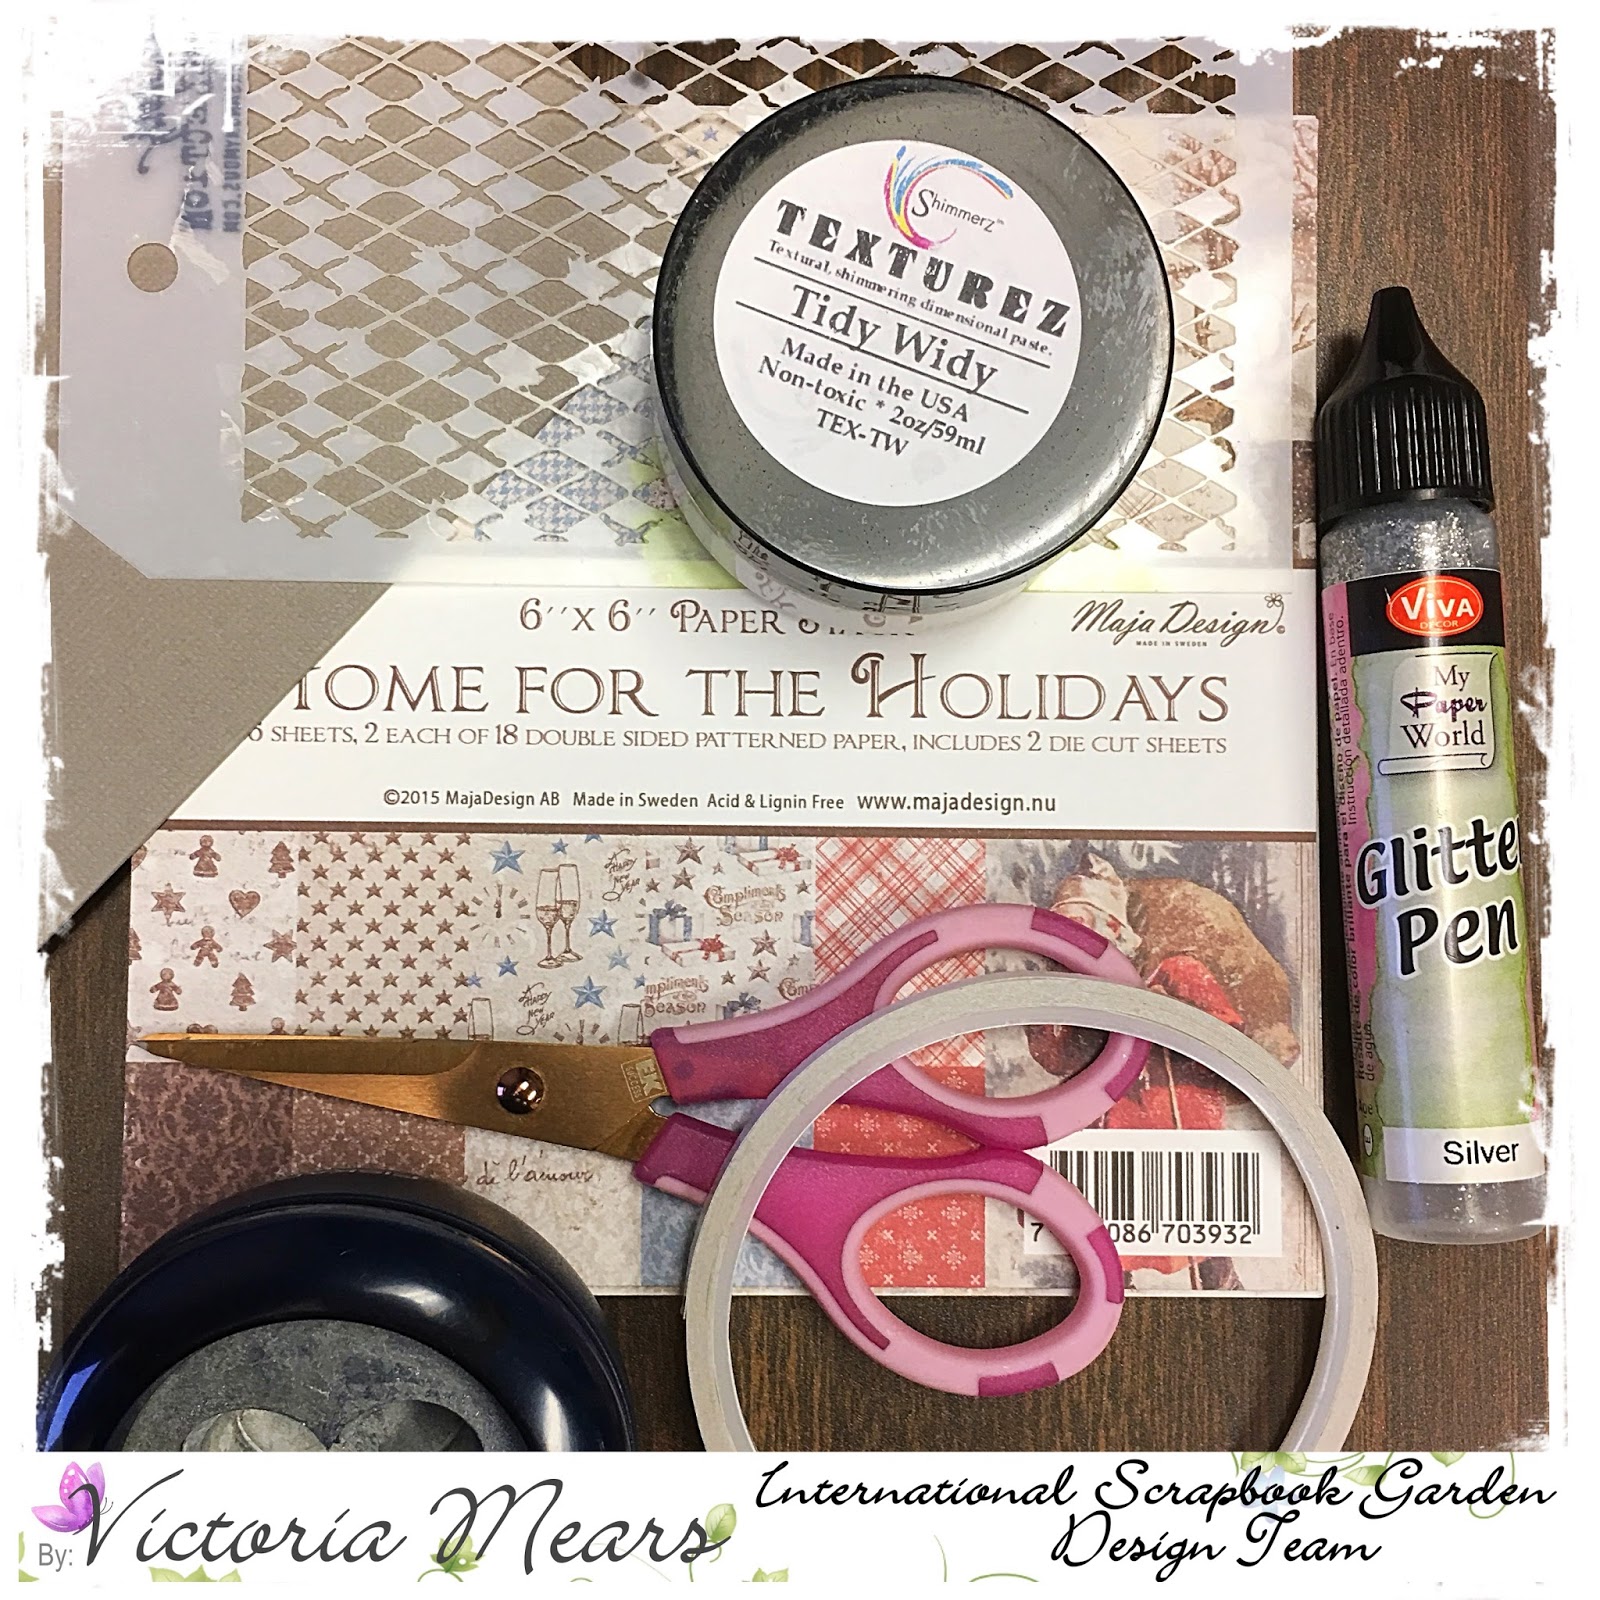
For the box I used:
  • Maja Designs paper  3 3/4 inch square
  • Creative Embellishments denim pocket (small)
  • Lindy's Sprays Flat Fabio - Tweedle de denim
  • Kaisermists - denim
  • Prima Art Ingredients Mica Flakes - Henna
  • Prima Chalk Ink - Farmers Jeans
  • Bella Floral self-adhesive blue flowers
  • Tim Holtz Ideology Quote Chips
  • Darice Rustic Snow Shovel
  • Wooden branch slices (yes they are real wood)
  • Bakers twine- brown

Let me show you a close up (ultra close up) of the chip board pocket, following misting.
I misted first with the Lindy's spray and let dry and then added the iridescent layer from the Kaisermist in denim.  You can also see I added the mica flakes.  You will need adhesive to attach these.  I prefer using liquid adhesive (Aleene's Tacky Glue)  If you make a nice pool of adhesive in your desired shape and shake the mica on, gently tapping off any excess, I find it works best.


I adhered the pocket with dimensional tape once it was completely dry.  For the wood slices, I used tacky glue again.  I attached to two on the right first and let them dry over night.  I added the third at an angle with tacky glue on the edge that is touching the other two and also the chip board pocket.

Isn't the flower amazing?  Look at the color in the center!  It reminds me of fresh blueberries.  Just gorgeous.


 For the shovel I wrapped the handle with bakers twin and tied a small bow.  I'm not too concerned with super tidiness on this project since it is meant to look a little rough and tough!  I used a drop of tacky glue under the handle and then a piece of dimensional adhesive under the shovel part.  I've got to say I'm in love with this little box.


 I hope you have a wonderful rest of the week!  The ISBG DT has some amazing projects coming up!  I am so honored to work with this wonderful team!

Please come over and enter our first Facebook challenge, we are looking for you!


~ Victoria

Thursday, January 18, 2018

International Scrapbook Garden Kit Reveal!


This month's Tool Shed Kit: Winter Adventures and Fairy Garden papers are perfect for cards for teens or young adults in your lives.  I can't even begin to tell you how much amazing stuff is included in the main Tool Shed Kit!


Once again, I am pressed for time for a card.  So I wanted to go for a simple card using three pieces of 6 inch x 6 inch paper.  I selected a denim piece, an ivory piece with denim colored stars and the piece with the masculine images.  Once again, I am working on a grey card background to really make the denim colors pop!


I cut three pieces from the papers.
The background at 5 1/4 inches by 4 inches.
The contrast at 5 1/4 inches by 1 3/4 inches
The piece that is placed horizontally, which is the back of the denim piece I previously cut - just a tiny amount of waste paper that is 4 inches long.
Finally the image I wanted from the final piece.

Next I distressed all of the edges with my scissors.  To be honest I need a new blade for my paper cutter.  Distressing is awesome to cover those ragged edges!

I inked the edges with the Prima Chalk ink, included in the main kit in "Farmers Jeans".
It really gives an excellent contrast.

I then adhered all of the background pieces together.  I do this in case I don't like how it looks.  I can always change it before committing to the card.  After this background was put together I used the KaiserCraft spray in denim.  For this card I wanted a bit of a grungy look so I didn't even test spray.  So what you see is what I got after "priming"!

I then adhered the image to the card using dimensional tape.  While the mist was drying, I took a denim star and adhered a wooden heart and xoxo from the kit to the heart using tacky glue.  I also tied a bow in the twine included and adhered it to the card.

Finally I put the love wooden piece in the upper corner.  Allowing the entire front to dry.
Once everything is dry and I make sure it is sturdy, I used dry adhesive to adhere the entire piece to the grey card.

This kit is simply amazing.  I can hardly wait until the weekend to play some more with all of the wonderful papers.

Have you checked out our mood board and contest on Facebook?  Be sure to check it our and check out the kit at the store....... AMAZING!

~ Victoria

Thursday, January 11, 2018

Valentine Card from Christmas Papers - Breaking Rules


Have you ever found your self needing a quick card for a holiday and you don't have that holiday's special papers?  If so join the club!  I want to show you a quick Valentine made from (gasp!) Christmas papers.

Today I was at my day job and had my two breaks and lunch to finish a card, including drying time.  So I packed up a small kit before I left for work and decided I would see what happened.


This is my "kit":
  1. One pre-folded grey card blank
  2. A Tim Holtz mini stencil in argyle
  3. Shimmerz Texturez in Tidy Widy * available in the store at the International Scrapbook Garden
  4. Maja Designs Home for the Holidays * available in the store
  5. Viva Glitter Pen Silver
  6. Scissors
  7. Adhesive and
  8. A heart punch.  
Everything fit in a 1 quart bag in my tote.

I needed to make my card in a couple of steps to have everything dried and ready to assemble on my afternoon break.  After cutting the two base pieces from Christmas papers and adhering them to each other, I used the stencil and the Tidy Widy Texturez.  I used an old credit card I carry with me to apply the medium over the stencil.  This paste is super white, which I love.  I put a thin layer on and some of the red shows through, so it ended up having a pinkish shimmer.


Often I am super careful to get a very even layer, but I wanted some rough interest on the card.  The photo above is wet.  

At the same time I punched the heart out.  I used the Viva glitter around the edges.  To keep my workspace clean for this and to have a place to dry, I used a trusty yellow post-it note.  That way I could move it out of my workspace to a drying area, while I was doing my day job!

Here is a close up of the heart and the stencil on the card.  See the pinkish shimmer?  Cool huh?


So I used some beautiful Christmas papers and some great mediums.  Who would know it's Christmas paper?  Thanks for stopping by!  I hope you all have a wonderful New Year.

Thanks for stopping by!

~ Victoria


Monday, January 1, 2018

New Year 2018 with the International Scrapbook Garden


Happy 2018 friends!

What is your resolution this year?  One of my scrappy resolutions is to think of new and creative ways to use products that I have had around for a while!  This card features paper from Maja Design's Home for the Holidays 6 x 6 inch papers, combined with the Toolshed Kit: The Spider's Web, along with a few bits and bobs from my stash!  The papers, mist and clock stickers are from my new favorite on line store, the International Scrapbook Garden.

I used a sketch from fellow design team member Lanette Erickson, which was designed for a 12 x 12 layout and translated it into my "miniature layout", a 4 1/4 inch by 5 1/2 inch card!  Lanette is truly one of the most amazing mixed media artists I have ever met.

The clock is from the Spider's Web Kit and is one of the last pieces I have from the great sheet of stickers from the Kaisercraft 13th Hour Sticker Sheet.  The mist that I used was also in this wonderful kit.  It is from Lindy's Starburst Spray line - Canna Lily Burnt Orange.

The letters and the hand and ticket ephemera are all from Tim Holtz.  The ephemera is from the Christmas 2017 Ephemera pack.  Also, I drew the blue pen line with a pen from my collection (using a ruler!).

I wish you a wonderful new year, full of blessings!  Since I know you will need scrappy supplies, take a look at and consider joining the International Scrapbook Garden Kit Club.  There are amazing kits to chose from.  I can guarantee you won't be disappointed!  Or if you prefer, buy ala carte from the store.

Please them on Facebook, too!  The design team has lots of fun planned in the new year and that fun begins with you!

~ Victoria