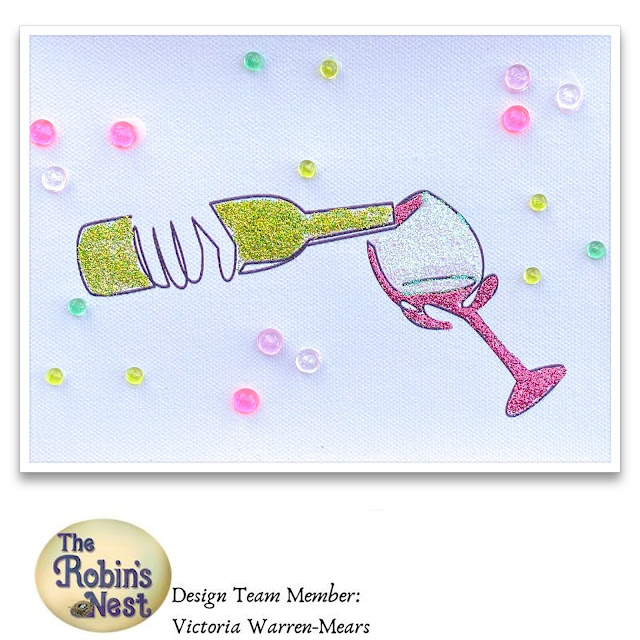
Today I want to show you how to make a wonderful canvas using four total types of ingredients.
This is a fun project that requires patience for drying times, but creates a wonderful sparkly canvas, just in time for holiday celebrations!
Ingredients:
Stickles: Pink, Lime Green and Crystal
Liquid Adhesive
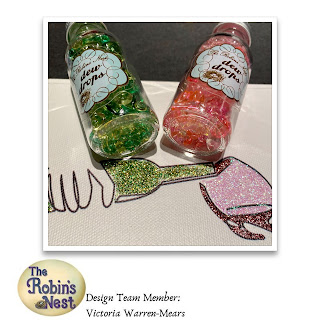
Dew Drops: Safari Mini-Dew Drops and Easter Dew Drops
Directions:
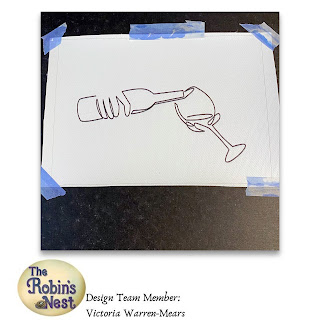
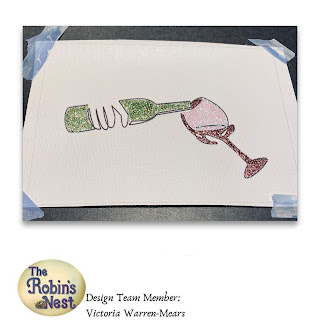
1. Tape canvas down, if desired to surface with washi tape.
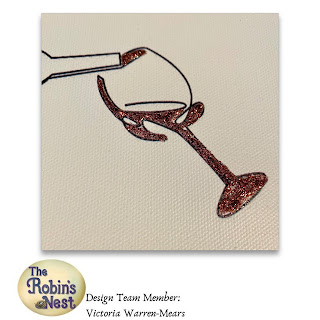
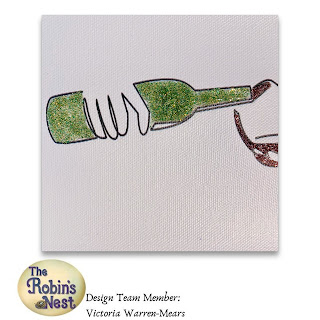
2. Work with each of three Stickles colors in turn. I allowed them to dry after each color was applied.
First I did the pink and allowed it to dry completely. I always end up dragging my wrist through wet glue. So as I said previously, for me patience and letting each color dry was key to success! Second up was lime green and finally, I used crystal on the glass.
3. Using wet adhesive I adhered Dew Drops in pinks and greens to the canvas, once everything was well dried. And again be patient until the liquid adhesive dries.
Happy crafting!